Getting Started
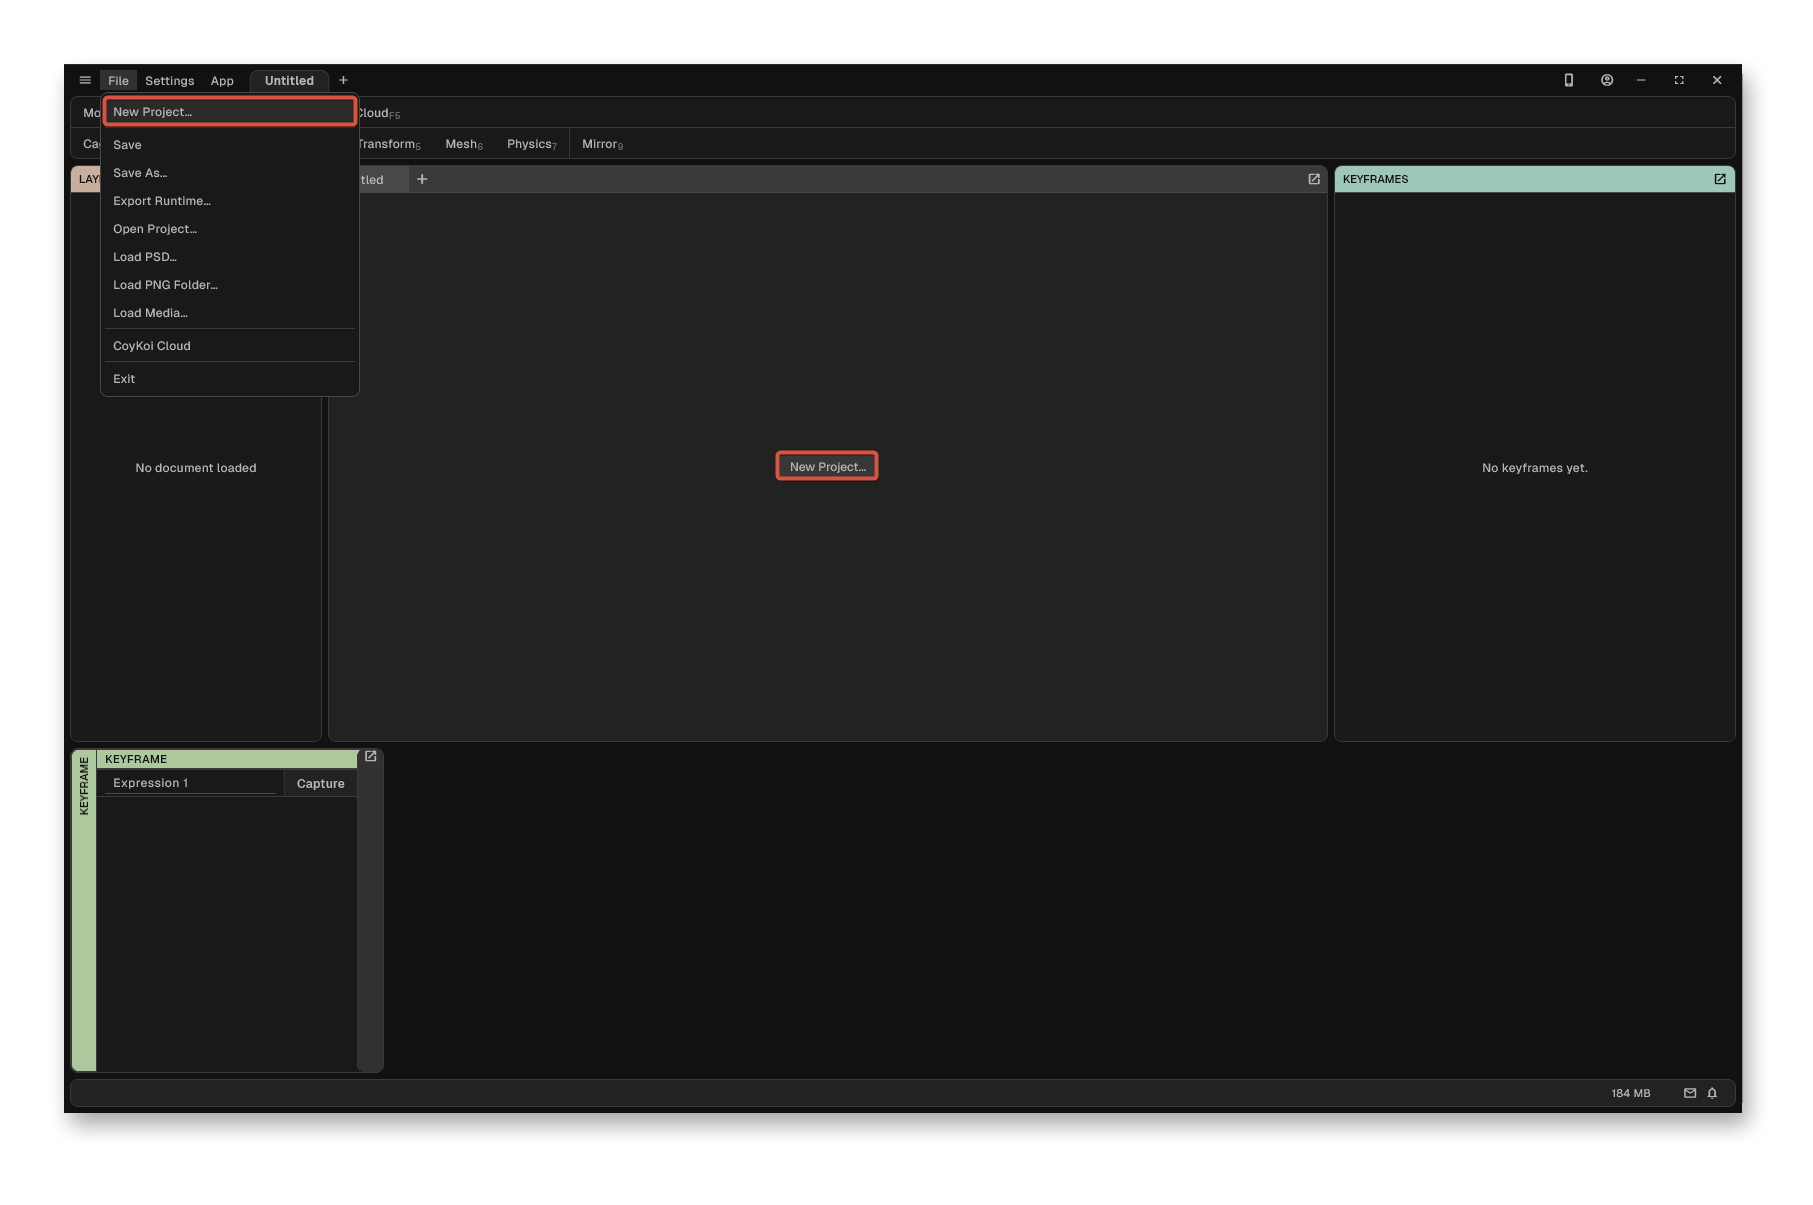
Starting a new project & loading image
Section titled “Starting a new project & loading image”Projects can hold image, mocap and the rig.
Start by loading the image, mocap and authoring your first rig.
After saving project file, CoyKoi will ask for an image file.
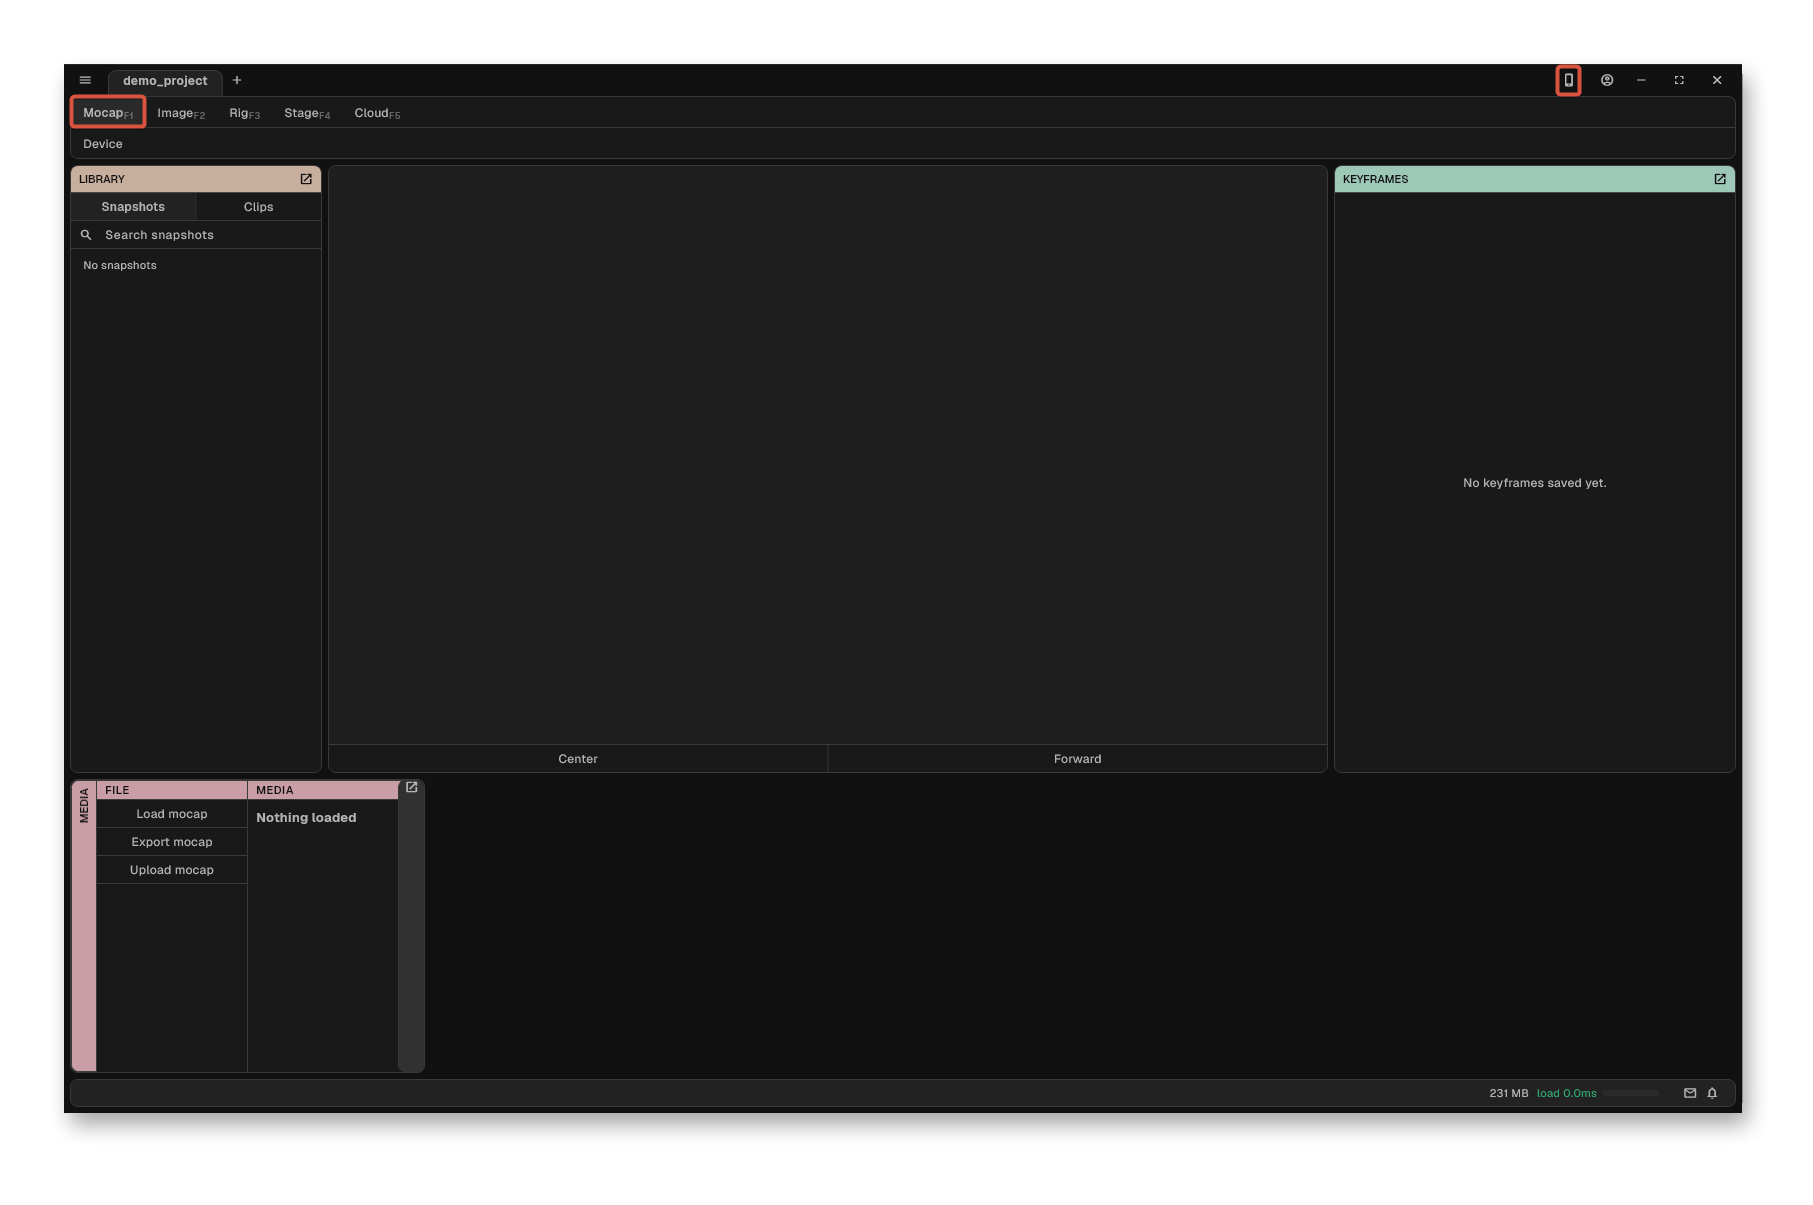
Connect to a iPhone
Section titled “Connect to a iPhone”In Mocap mode, click the phone icon and connect to your iPhone with Bluetooth.
Capturing mocap
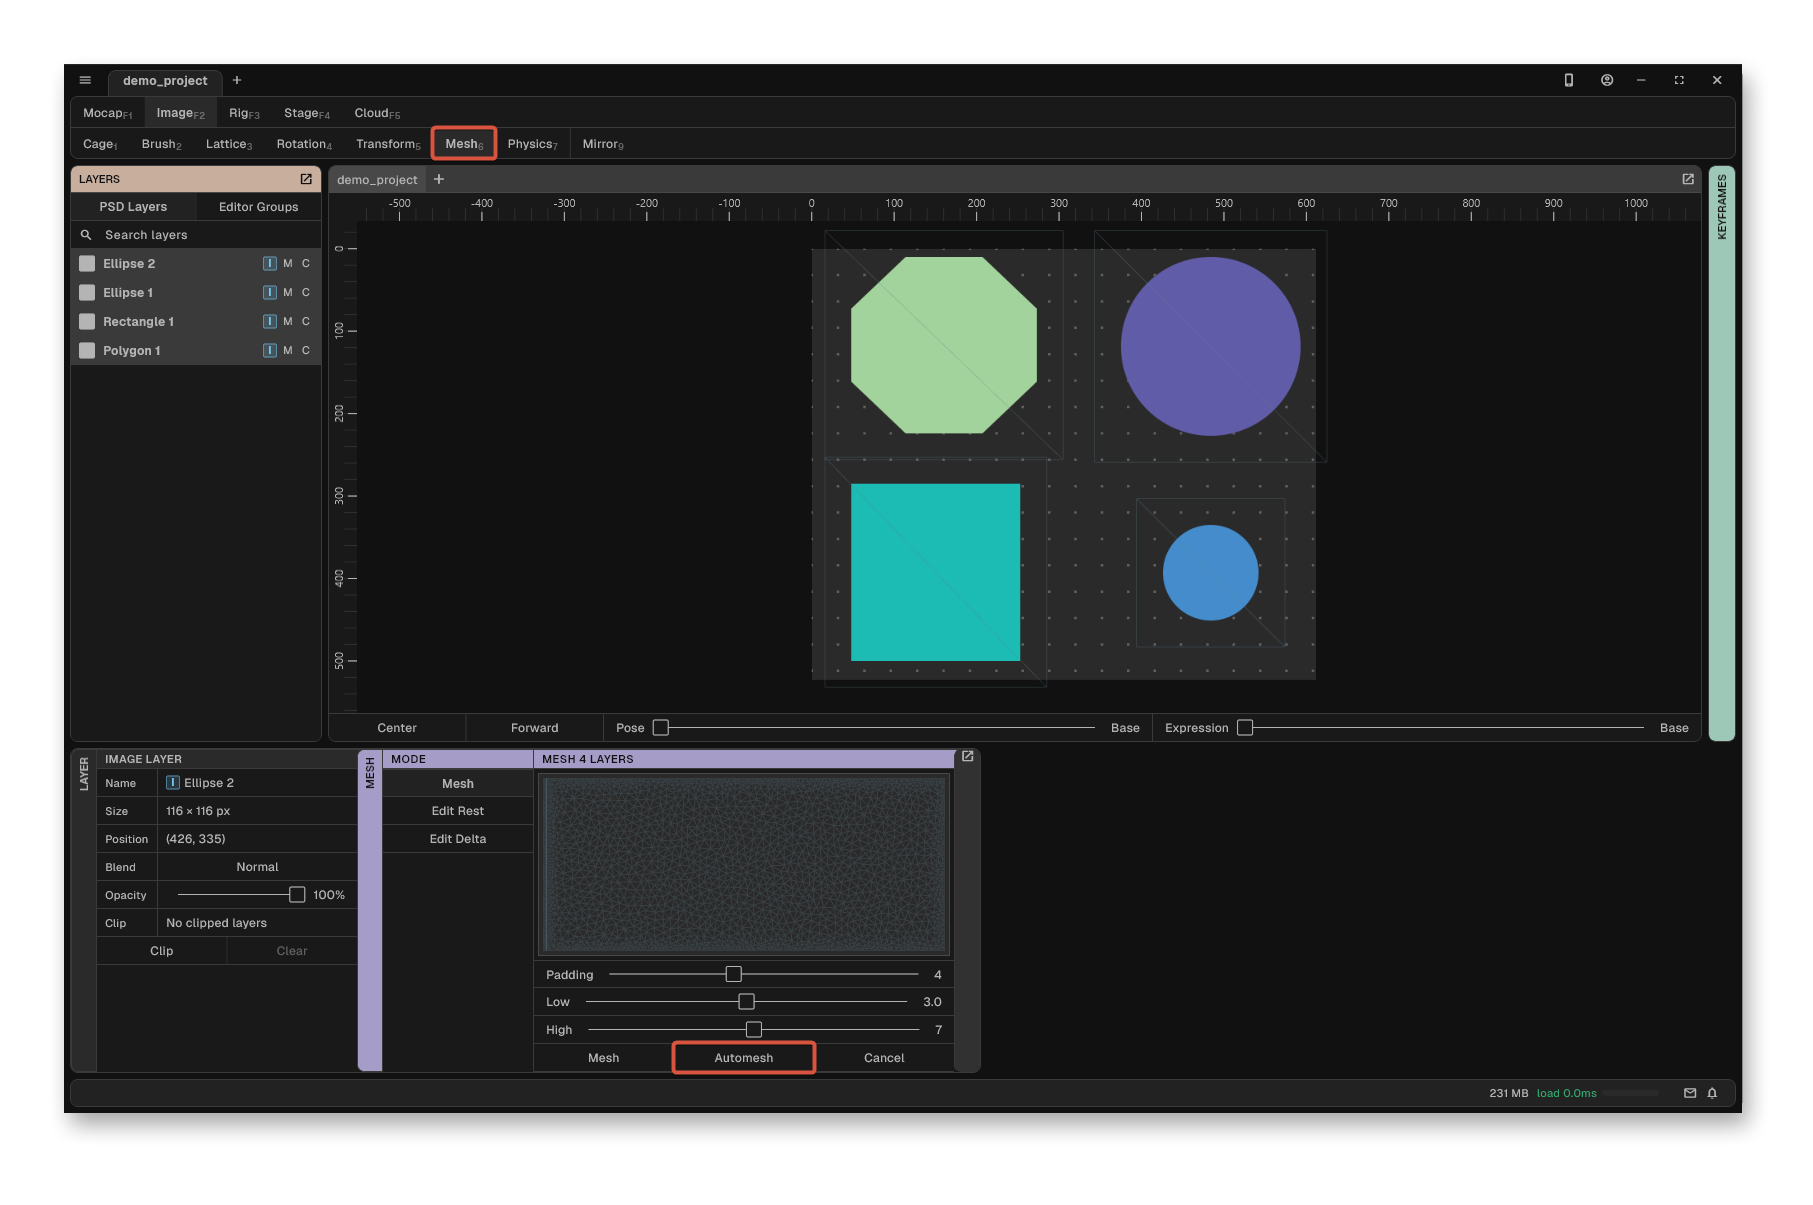
Section titled “Capturing mocap”Select all layers from layers panel from left with Shift+Click, or from editor with Shift+Drag.
With Mesh Tool active, click automesh.
The app will mesh layers appropriately, depending on geometry.
Cage a image layer part 1
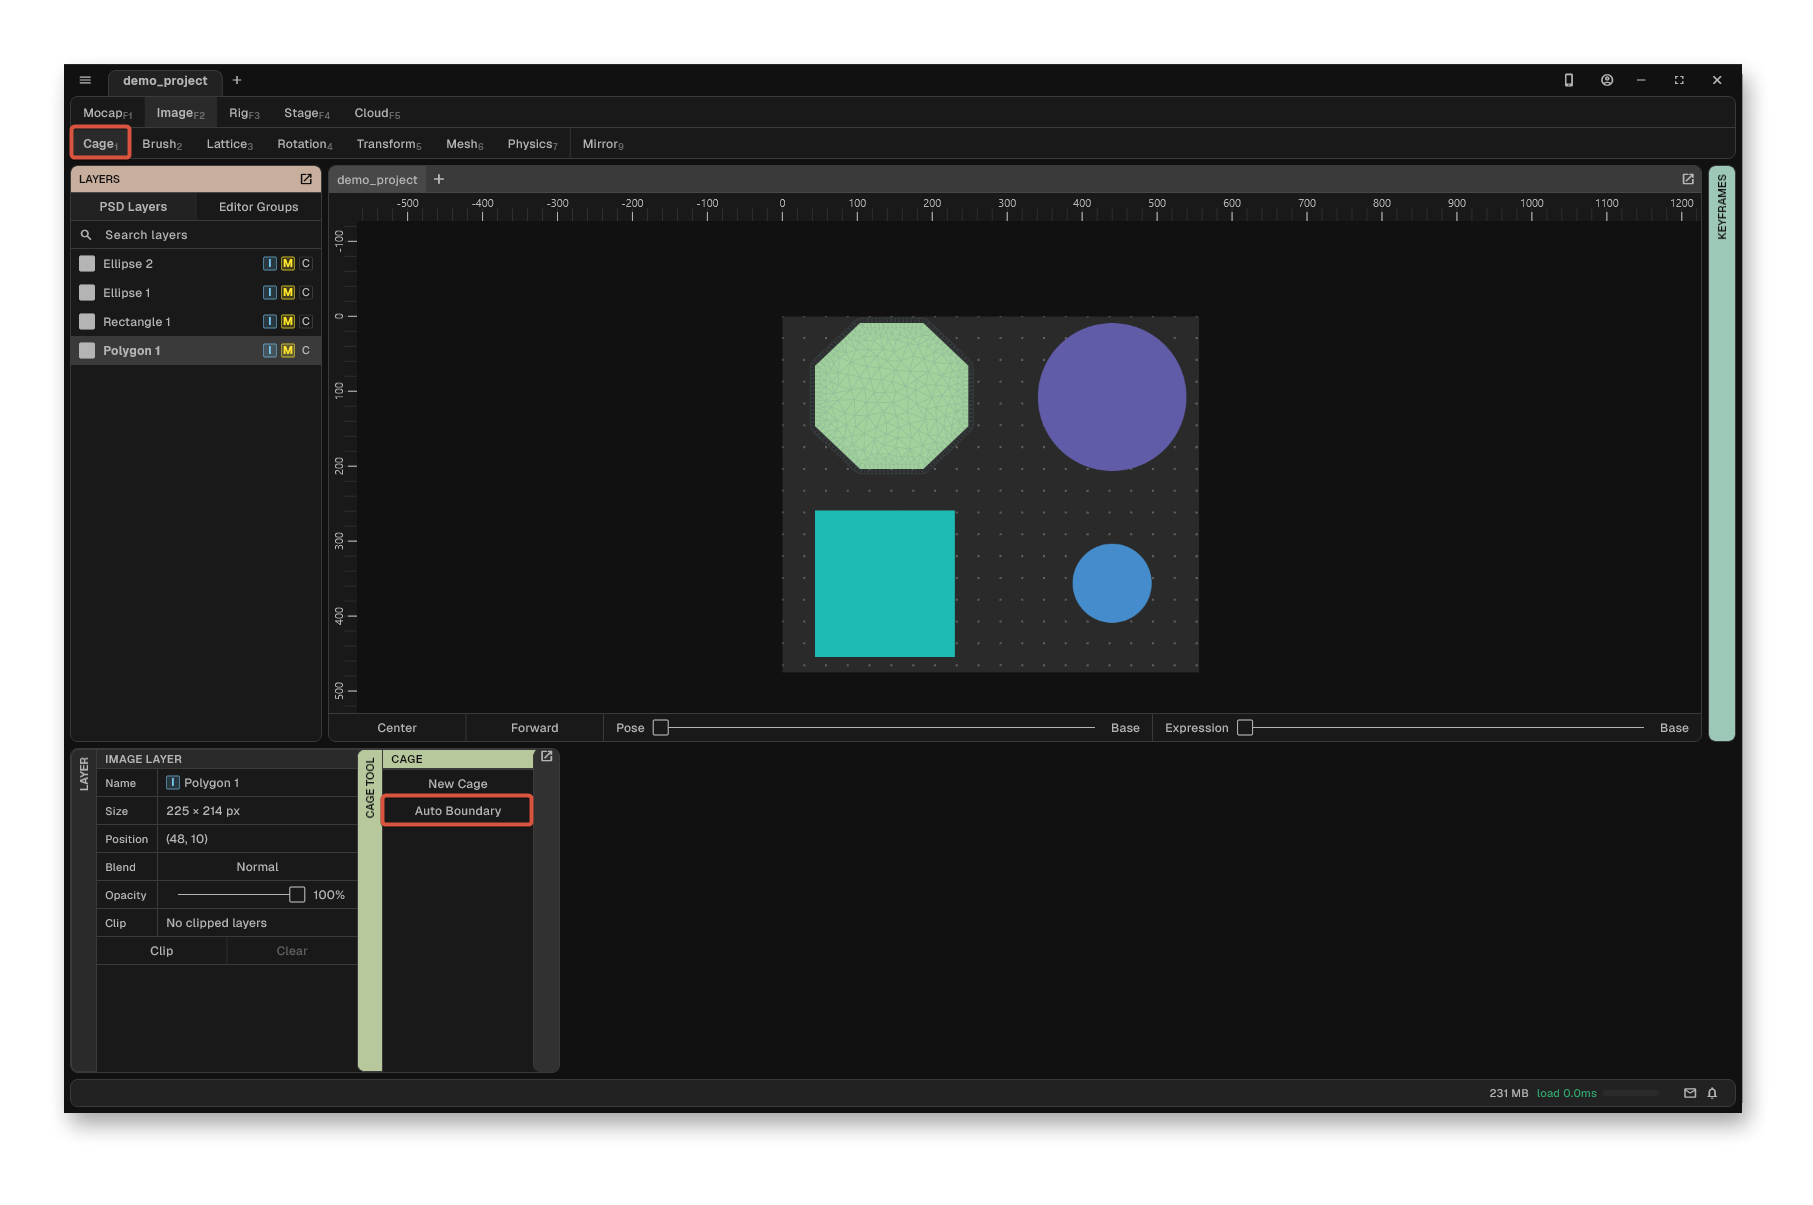
Section titled “Cage a image layer part 1”Layer deformations occur through cages.
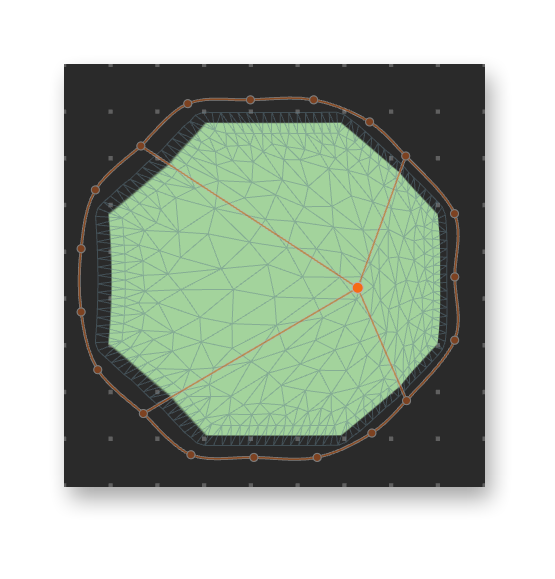
Autoboundary helps capture each layer boundary.
Cage a image layer part 2
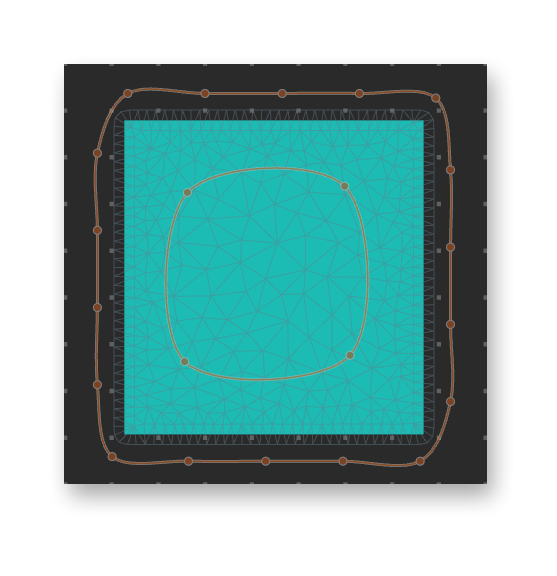
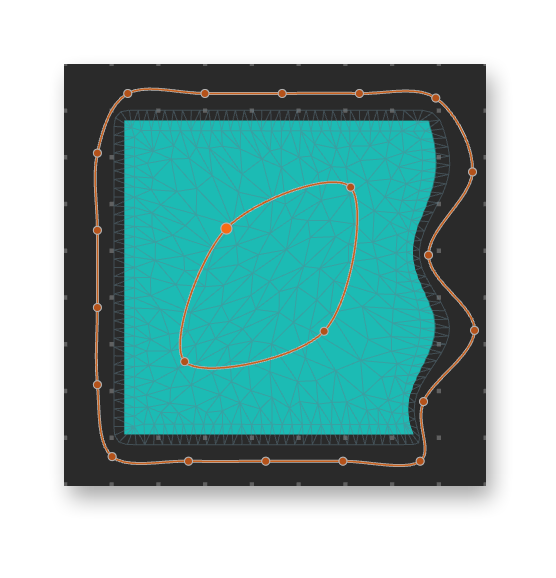
Section titled “Cage a image layer part 2”With autoboundary use Ctrl+Click to make more nodes.
The cage deforms layers following cage edges, so buiild a cage that follows the layer’s natural movments, e.g. around eyes, lips, etc
Cage a unified layer
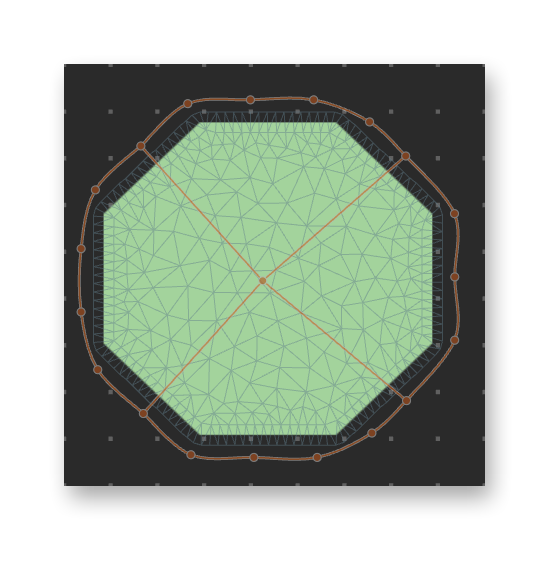
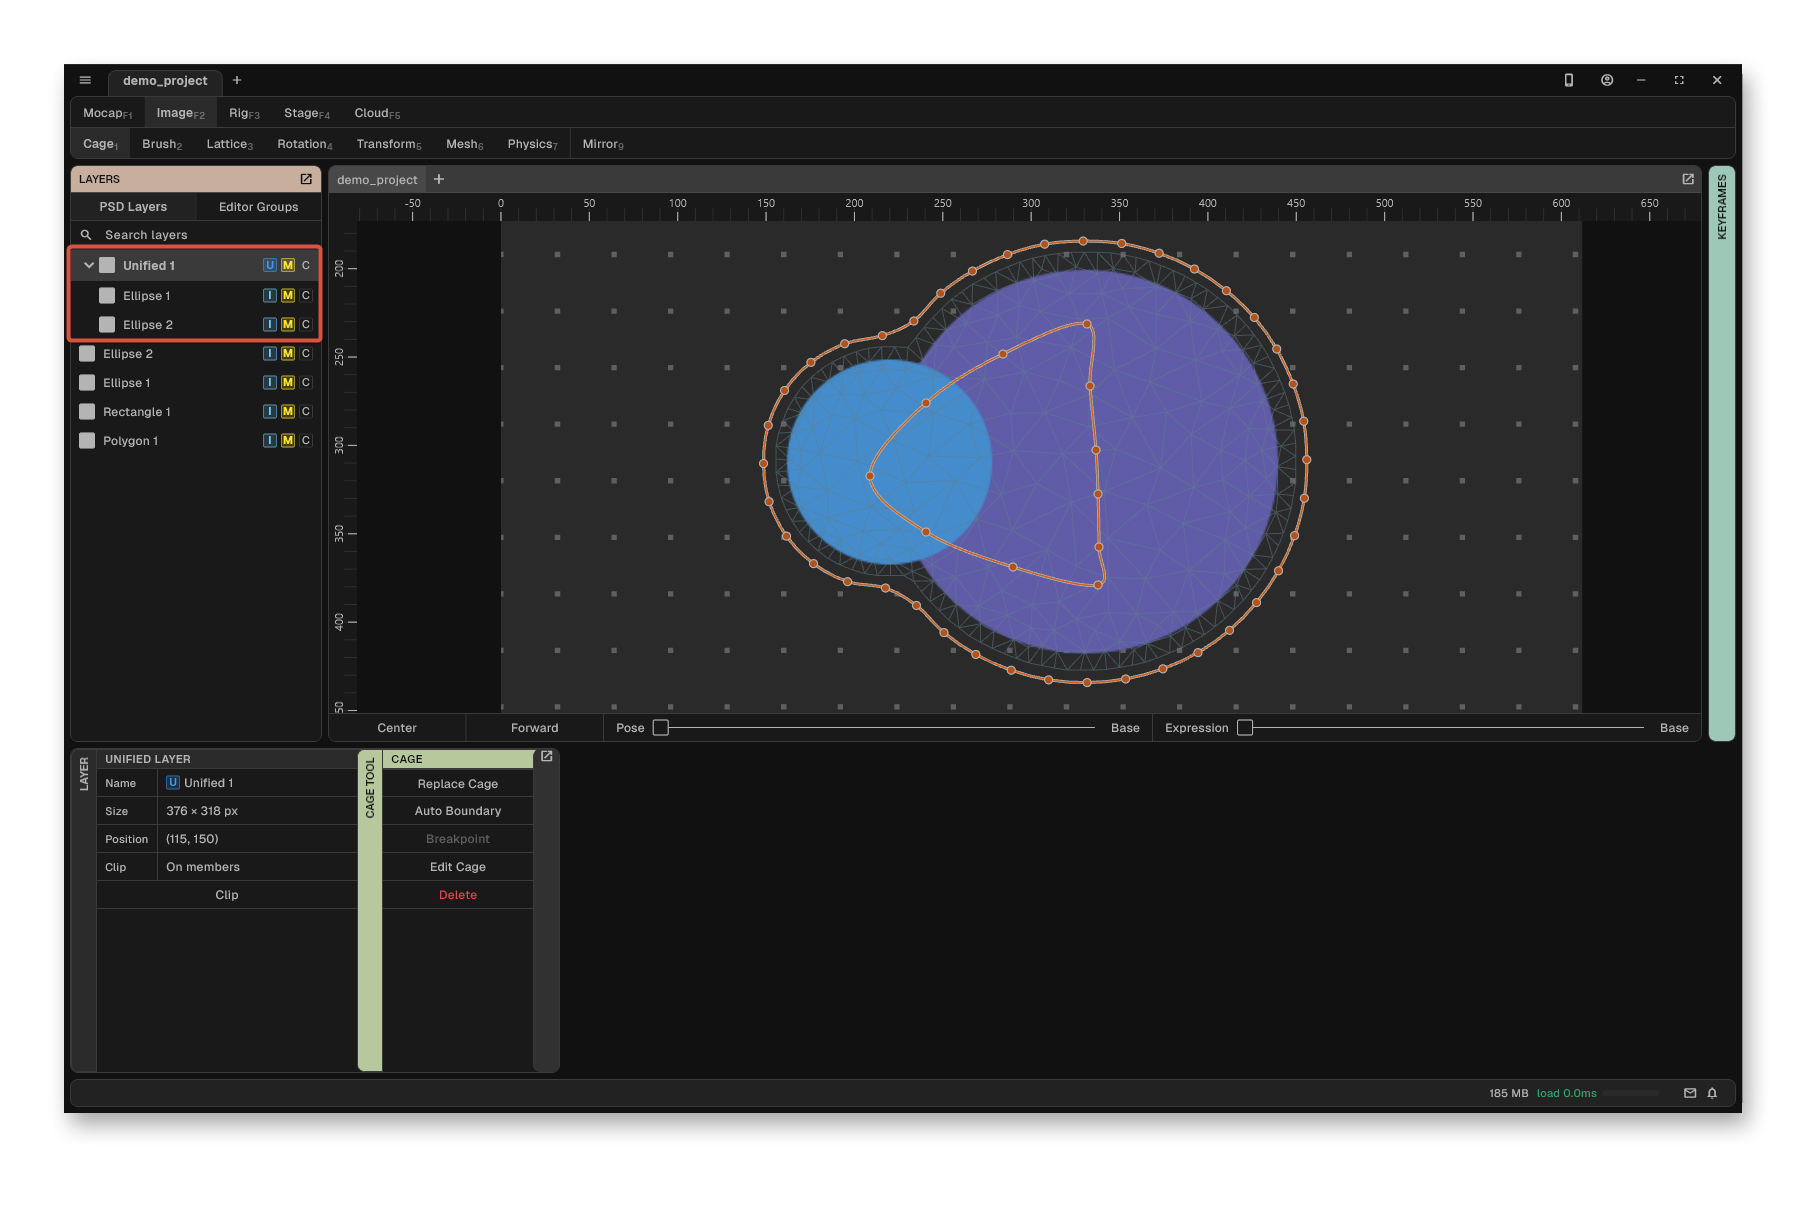
Section titled “Cage a unified layer”Create and commit a cage with multiple layers selected, CoyKoi will make a Unified layer, so you can deform multiple layers with one cage.
The child image layers can still be deformed separately, but child layers do not need a cage.
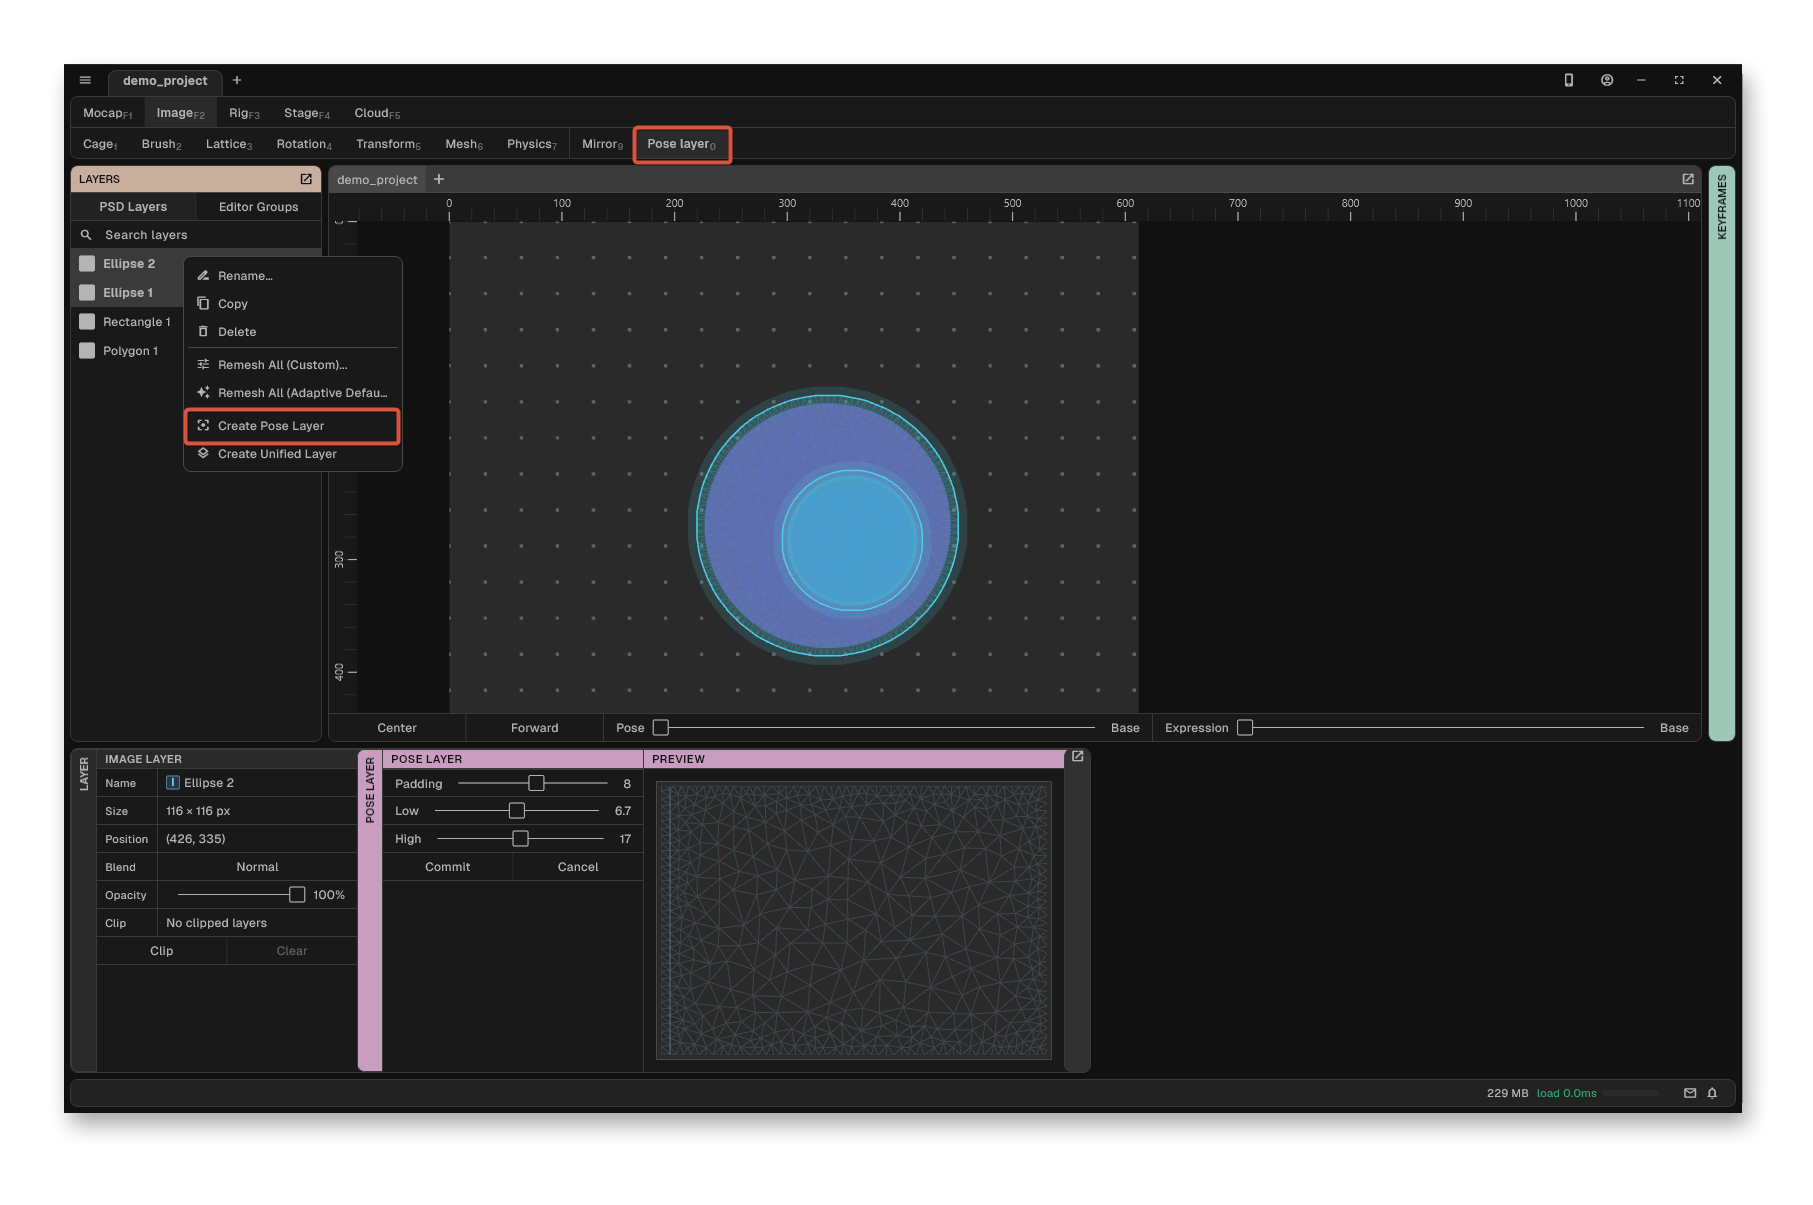
Create a pose layer
Section titled “Create a pose layer”Pose layers are specially built for poses (e.g. head rotation, eyes).
Bind all layers that would rotate with pose.